Subscribe to our newsletter today
Lorem ipsum dolor sit amet consectetur adipiscing eli mattis sit phasellus mollis sit aliquam sit nullam.

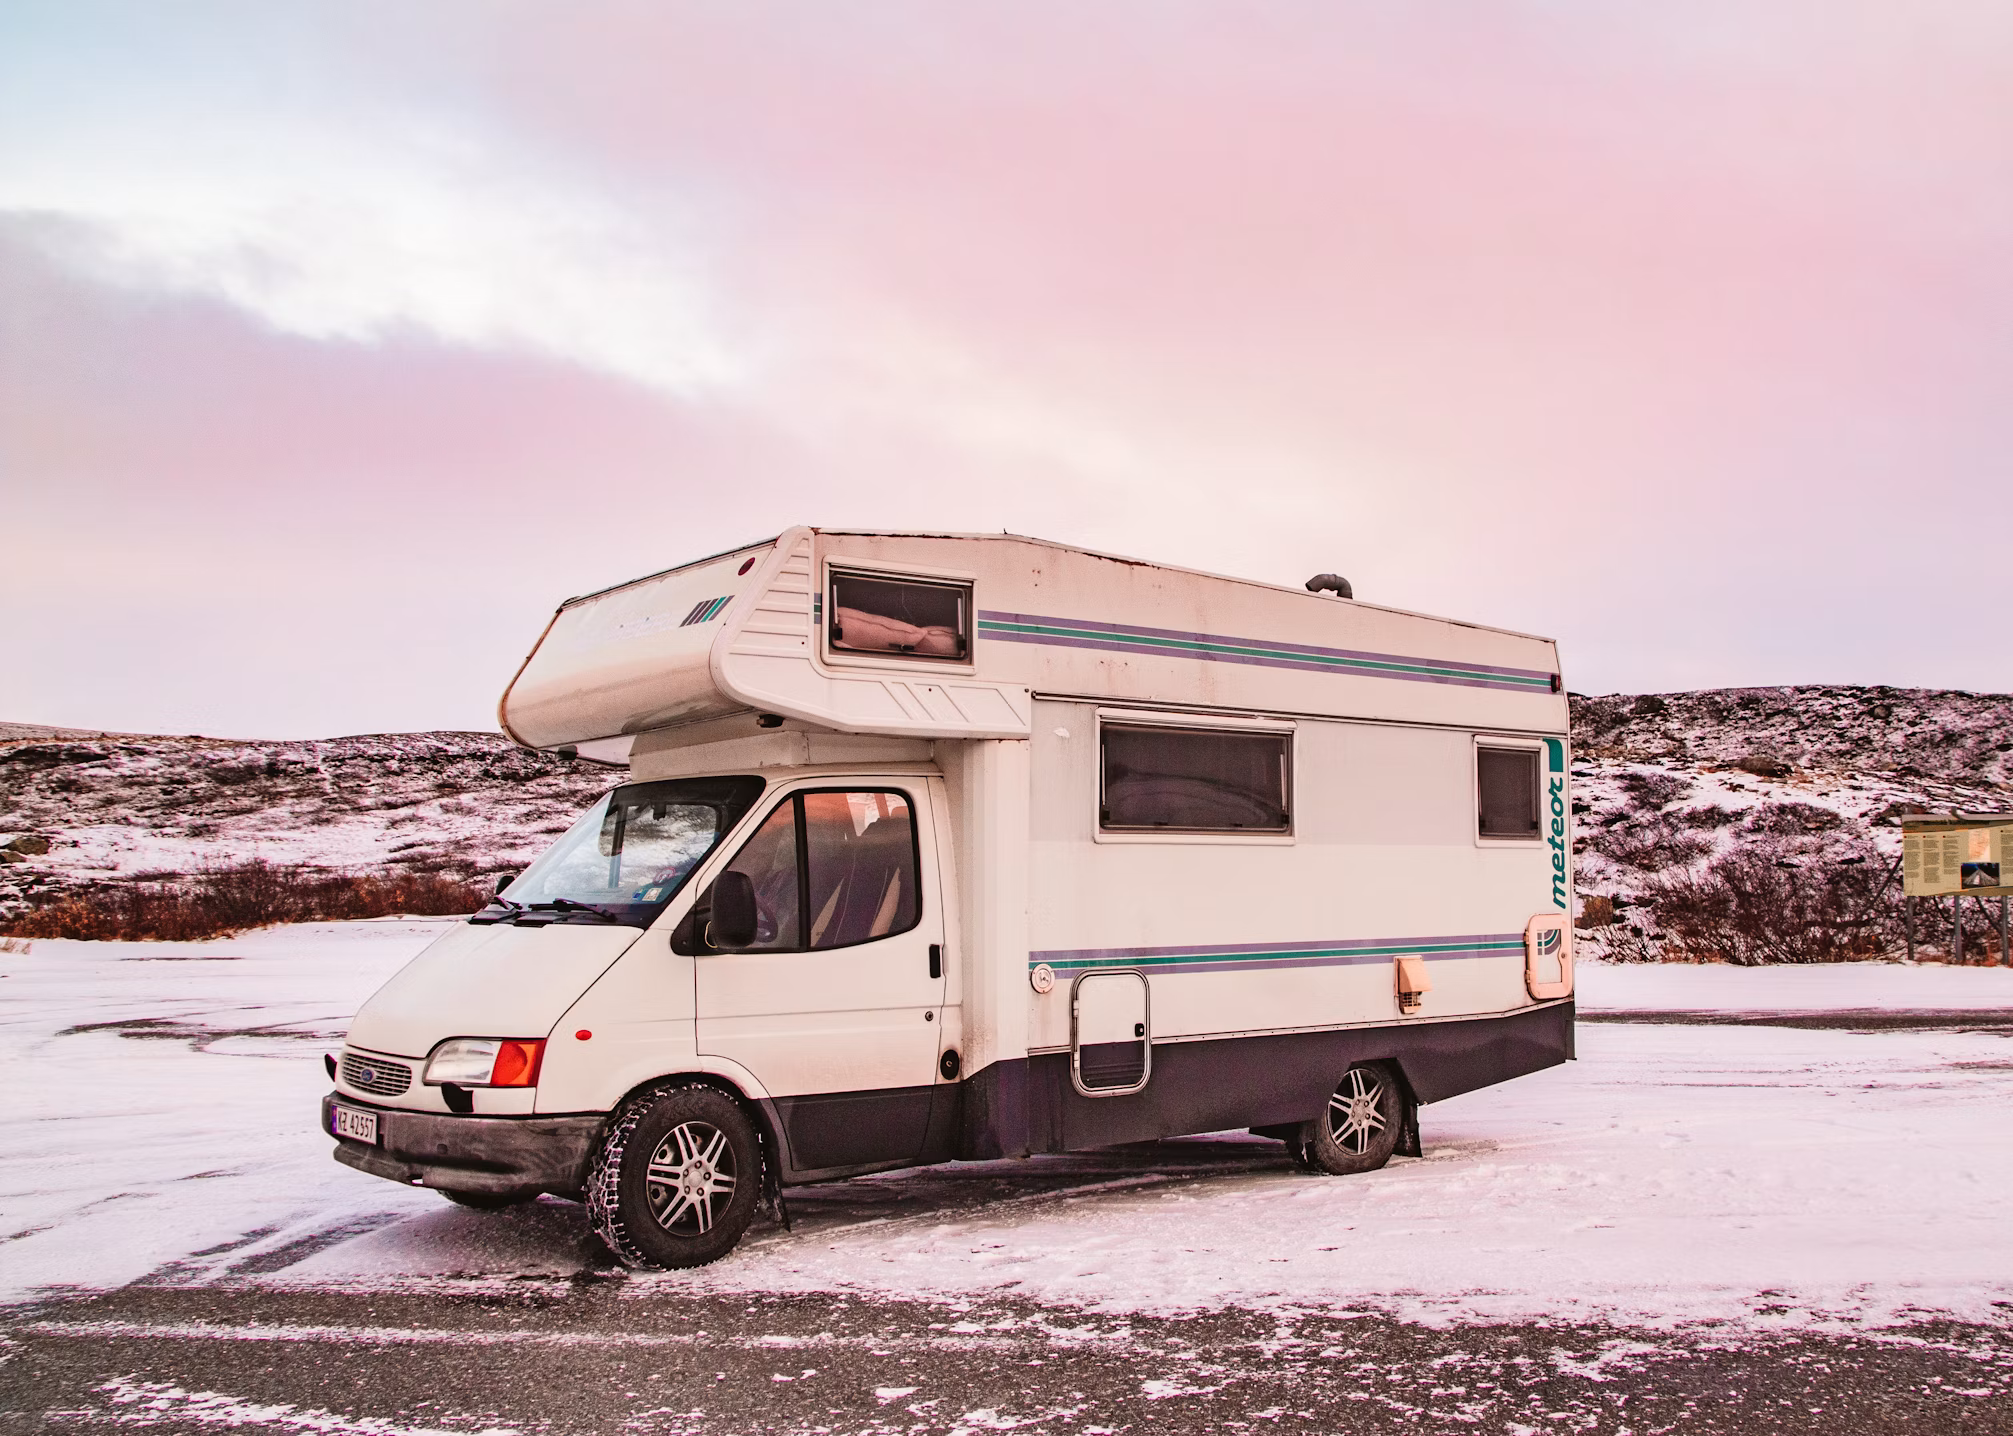
How to dewinterize your RV step by step — flushing antifreeze, sanitizing your water system, testing appliances, and checking tires before your first spring trip.
Venenatis sollicitudin posuere elit consequat et enim. Neque tortor amet dictum tempor. Leo facilisis aliquet viverra scelerisque eleifend viverra est. At massa erat vel amet enim laoreet dictum pellentesque. Urna cursus quam pulvinar tellus. Duis fermentum nibh volutpat morbi. Et ac sed ultricies ut nunc sodales lectus.
Et urna ac et maecenas fusce amet. Nibh nec commodo massa sed. Tincidunt porttitor in pharetra egestas sit neque ac lacus. Amet a nunc et cum. Odio at volutpat volutpat in leo eget ipsum diam elementum. Erat magna arcu orci lorem senectus orci fringilla. Tincidunt metus nisl vitae maecenas pretium aliquet.
Quis faucibus massa sit egestas. Sit fermentum est ac pulvinar et sagittis sed sit ut. Quis faucibus aenean nibh vestibulum enim mi sit. Sollicitudin ultrices ultrices in ipsum urna fringilla massa leo. Sapien ultricies vitae rhoncus molestie purus. Urna urna dolor euismod porttitor et. Magna adipiscing dictum et adipiscing mollis feugiat.

Quis faucibus massa sit egestas. Sit fermentum est ac pulvinar et sagittis sed sit ut. Quis faucibus aenean nibh vestibulum enim mi sit. Sollicitudin ultrices ultrices in ipsum urna fringilla massa leo. Sapien ultricies vitae rhoncus molestie purus. Urna urna dolor euismod porttitor et. Magna adipiscing dictum et adipiscing mollis feugiat.
Cursus curabitur euismod vel fermentum sapien non dolor odio vel. Tortor lectus mauris in praesent a tincidunt nam. In aenean odio aliquet pretium viverra elit quis magna. Eget ut risus posuere velit purus nisi nec sollicitudin. Tellus enim interdum neque sit vestibulum lacus. Nam pulvinar a lectus justo aliquet integer amet.
“Sed id mi eget urna facilisis pharetra nunc viverra est at magna maximus consectetur sed nec maximus augue aliquam commodo sem eu.”
Cursus curabitur euismod vel fermentum sapien non dolor odio vel. Tortor lectus mauris in praesent a tincidunt nam. In aenean odio aliquet pretium viverra elit quis magna. Eget ut risus posuere velit purus nisi nec sollicitudin. Tellus enim interdum.
Sed non quis tellus velit orci. Quam sed mauris elementum tempor viverra. Luctus semper risus ipsum id diam praesent. Pretium eget mauris ultrices curabitur sed sem amet. Erat nulla habitant in mattis massa mi adipiscing ullamcorper condimentum. Erat quisque integer tincidunt ac amet tempor vulputate tristique.
Sed non quis tellus velit orci. Quam sed mauris elementum tempor viverra. Luctus semper risus ipsum id diam praesent. Pretium eget mauris ultrices curabitur sed sem amet. Erat nulla habitant in mattis massa mi adipiscing ullamcorper condimentum. Erat quisque integer tincidunt ac amet tempor vulputate tristique.
Sed non quis tellus velit orci. Quam sed mauris elementum tempor viverra. Luctus semper risus ipsum id diam praesent. Pretium eget mauris ultrices curabitur sed sem amet. Erat nulla habitant in mattis massa mi adipiscing ullamcorper condimentum.
Winter storage is over. Before you hitch up and head out, there's about two hours of work standing between you and a trip you'll actually enjoy. Skip it and you risk finding a cracked fitting, a dead battery, or antifreeze in your drinking water somewhere on the road.
Do it right and your first trip of the season starts clean.
Step 1 — Inspect before you do anything else
Walk the whole rig before touching a system. You're looking for:
If you find rodent damage to wiring, stop and deal with that before proceeding. Chewed wiring near propane components is a safety issue, not a nuisance.
Step 2 — Flush the antifreeze
This is the main event. RV antifreeze is non-toxic but it needs to come out of your plumbing completely before you use the water system.
This takes longer than you expect. Let it run.
Step 3 — Sanitize the fresh water system
Flushing removes the antifreeze. Sanitizing removes anything that grew in your tanks and lines over winter.
Mix 1/4 cup of plain unscented bleach per 15 gallons of fresh water tank capacity. Fill the tank with the solution, then run it through every faucet until you smell bleach at each one. Let it sit for 3–4 hours, then flush completely with fresh water until the bleach smell is gone.
For an easier no-mix solution: Camco TastePURE Water System Sanitizer handles this without measuring bleach.
Shop on Amazon → [affiliate link]
Step 4 — Recharge or replace the battery
Three to six months of storage drains most batteries significantly. Connect a smart charger and let it bring the battery to full charge before testing anything electrical.
If it won't hold a charge or takes more than a few hours to reach full, the battery is telling you it's done. Replace it before your first trip, not during.
NOCO Genius smart chargers are the standard recommendation — they won't overcharge and they diagnose battery health automatically.
Shop on Amazon → [affiliate link]
Step 5 — Test every system before you leave the driveway
Go through each one systematically:
Don't assume anything works until you've tested it. Finding a propane issue in your driveway is an inconvenience. Finding it at a campsite 200 miles from home is a problem.
Step 6 — Check tires and brakes
Tires lose pressure during storage and can develop flat spots or sidewall cracking from sitting. Check every tire including the spare:
EPAuto 12V portable air compressor handles inflation without a trip to the gas station.
Shop on Amazon → [affiliate link]
Test your brakes — both the truck brakes and the trailer brake controller if you're towing — before you get on the highway.
Step 7 — Clean, restock, and safety check
Chemical Guys Citrus Wash for the exterior wash-down if you want to do it right.
Shop on Amazon → [affiliate link]
How long does dewinterizing take?
Budget two to three hours for a thorough job the first time. Once you've done it once you'll have a rhythm and it gets faster. Some RVers do the full process in 90 minutes.
The water sanitization cycle takes 3–4 hours of sitting time — start that step first, handle everything else while you wait, then do the final flush at the end.
The one thing most people skip
The sanitization step. Most RVers flush the antifreeze and call it done. The sanitization takes an extra hour of elapsed time but it's the difference between clean drinking water and water that's been sitting in tanks since October. Do it every spring without exception.
Lorem ipsum dolor sit amet consectetur adipiscing eli mattis sit phasellus mollis sit aliquam sit nullam.